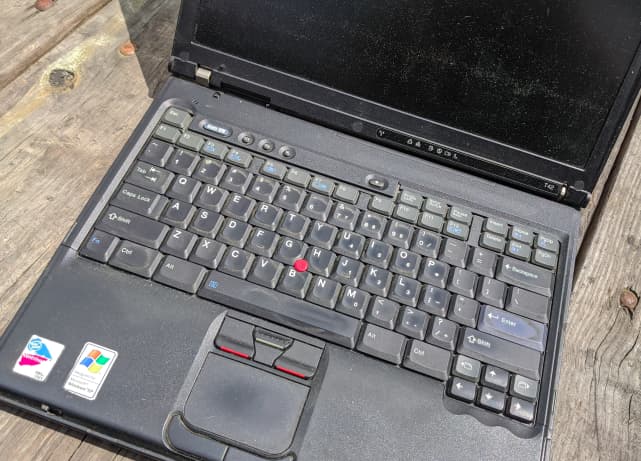
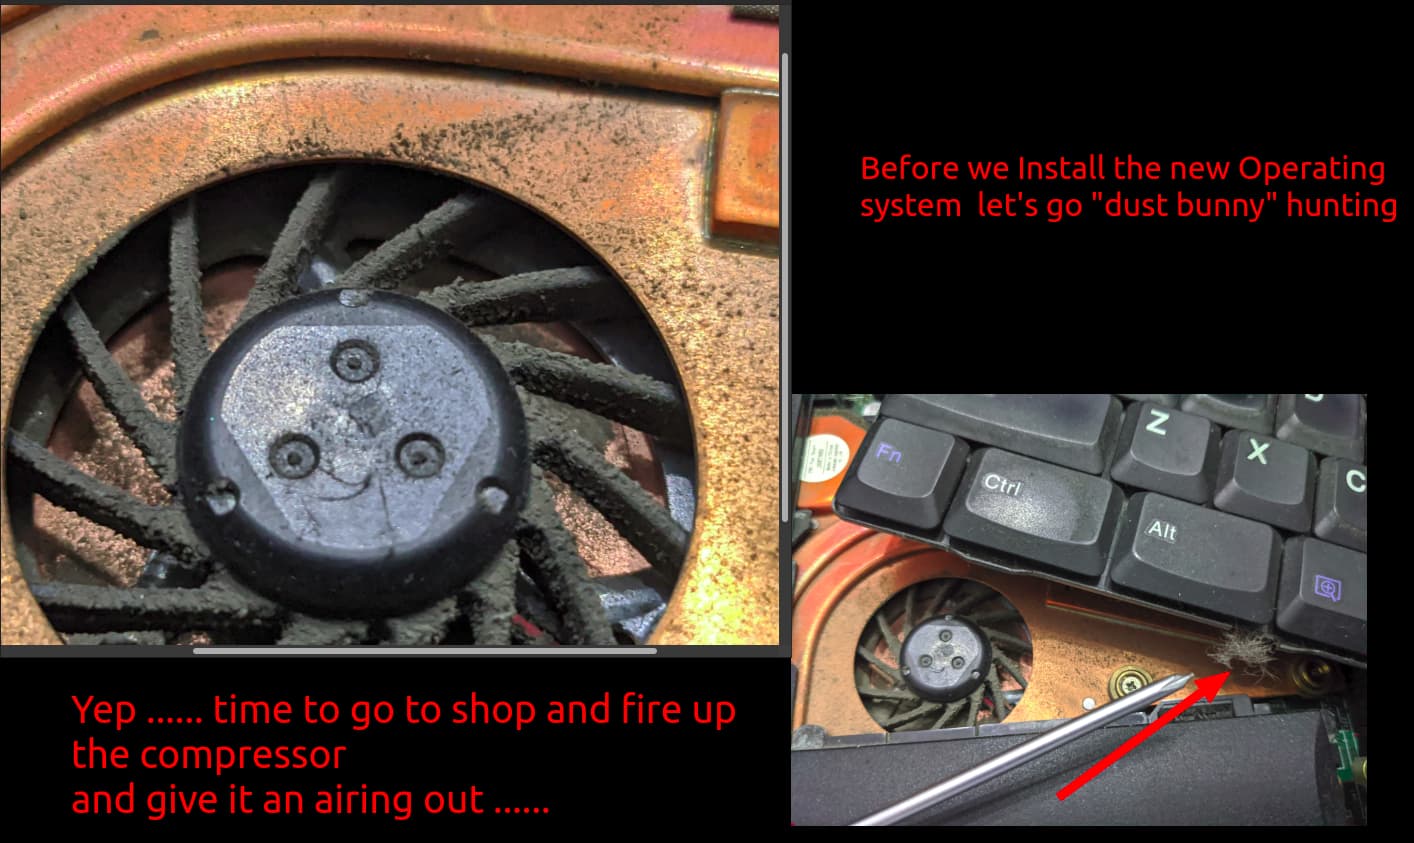
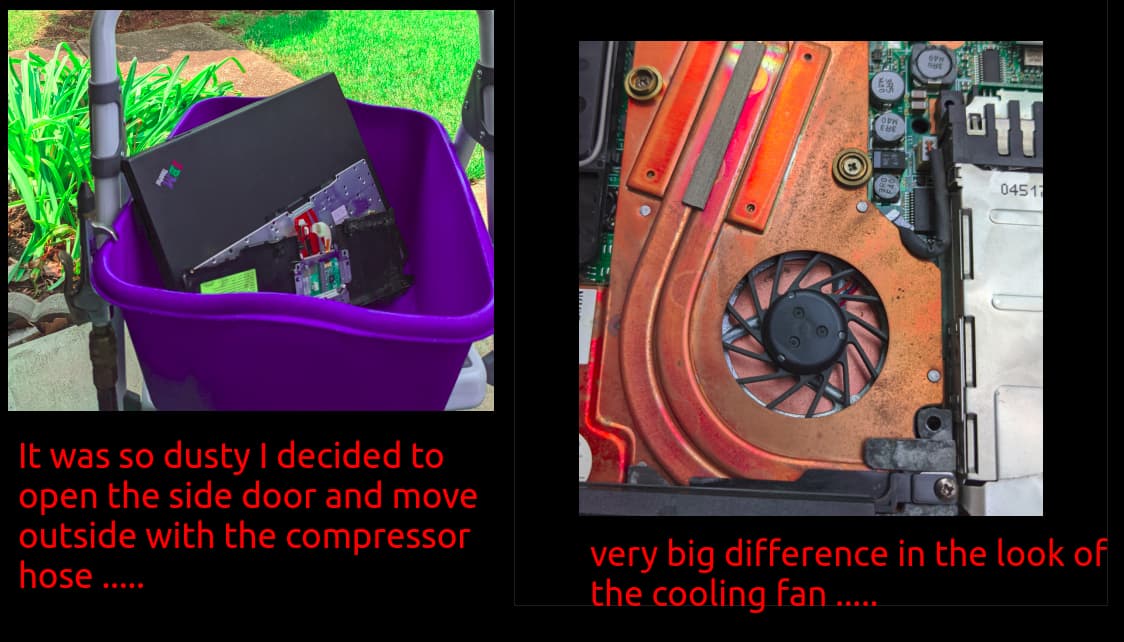
I take care of rental properties … yesterday a friend who owns a building close to one that I take care of called me to help him clean out an abandoned apartment … cause I have a trailer and he doesn’t … anyway I kept this old timer out of the dump …
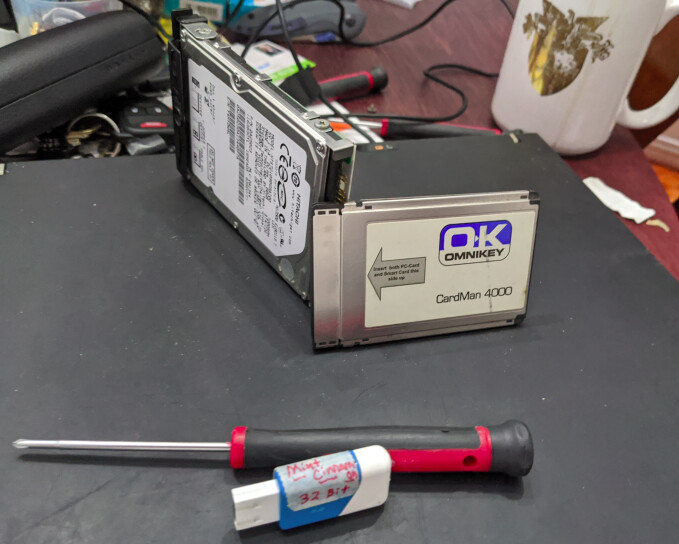
OK … lets look it over … first thing I notice is that it has this “CardMan Thingy” that was in what I think was called a Pci slot at the time… from what I could find … it protected the machine from unauthorized access … so I pulled it … and the hard-drive out … and set it aside …(note: later I will take the hard-drive out to the shop, fire up the drill press and make hard-drive swiss-cheese, cause it is the respectful thing to do) …
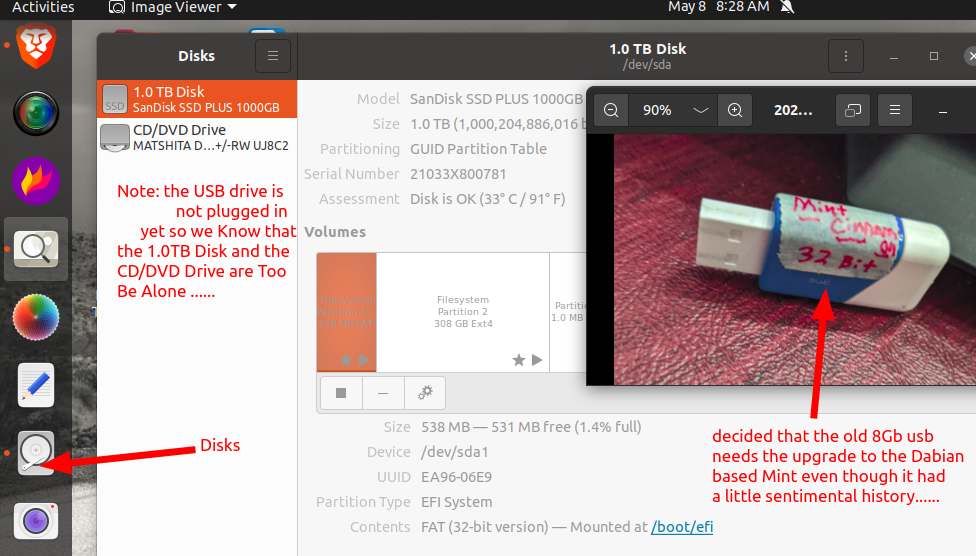
I rummaged through my cigar box of pre-loaded Linux flash drives and grabbed a copy of Mint Cinnimon in 32bit flavor that I made back when I first started in Linux … pre Jeff-pro … when I was flying by the seat of muh pants with no direction …
Ok gonna get another cup and come back and see if she starts …
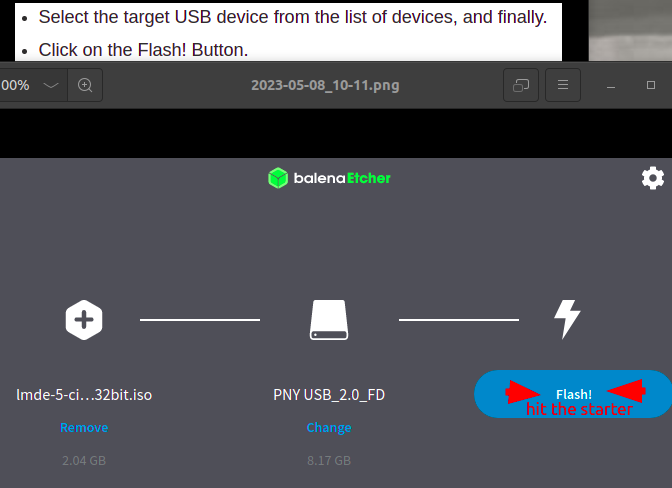
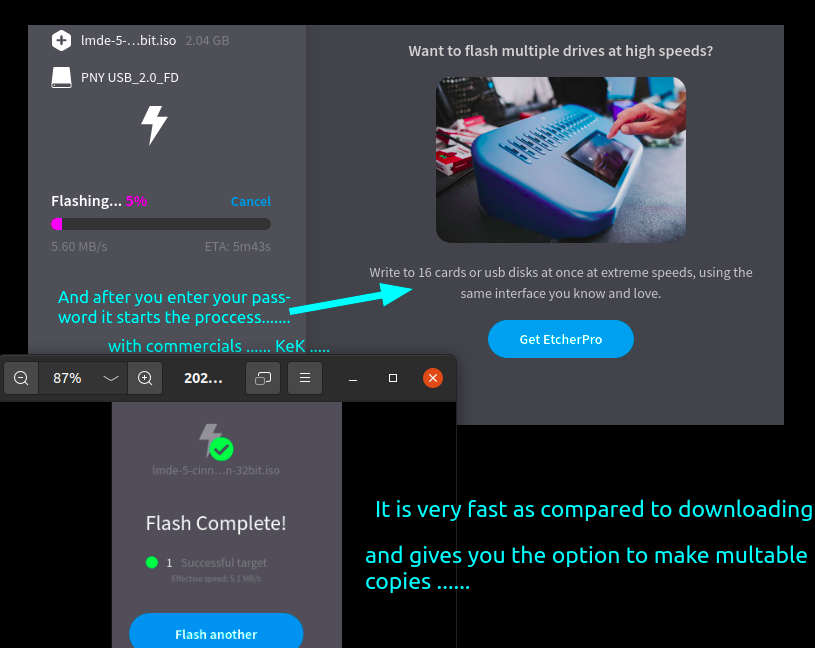
Plugged in the power/charger cable and after twisting the electrical tape wrapped plug a little … got the lights to start blinking… this is a good sign … (note: if all goes well remember to repair plug to fix short in broken wire) … let’s hit the starter.
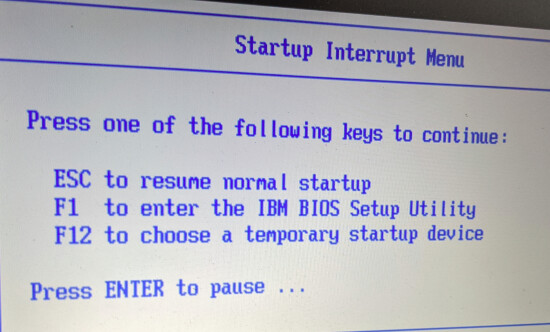
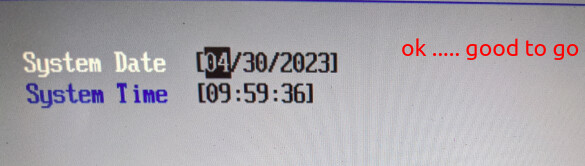
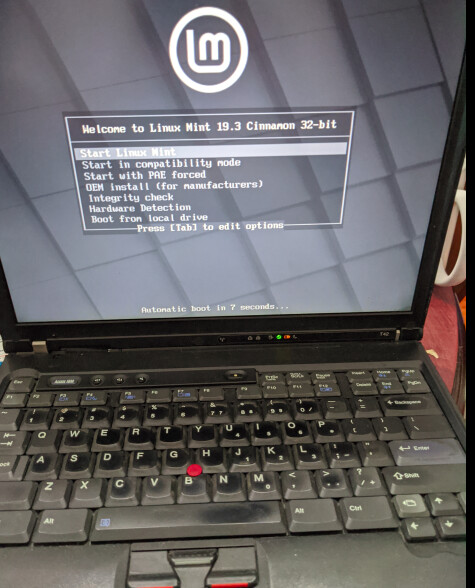
Annnnnnd …after a wiz-cough n sputter screen shows life and I star doing the one finger dance on the “blue IBM button” …
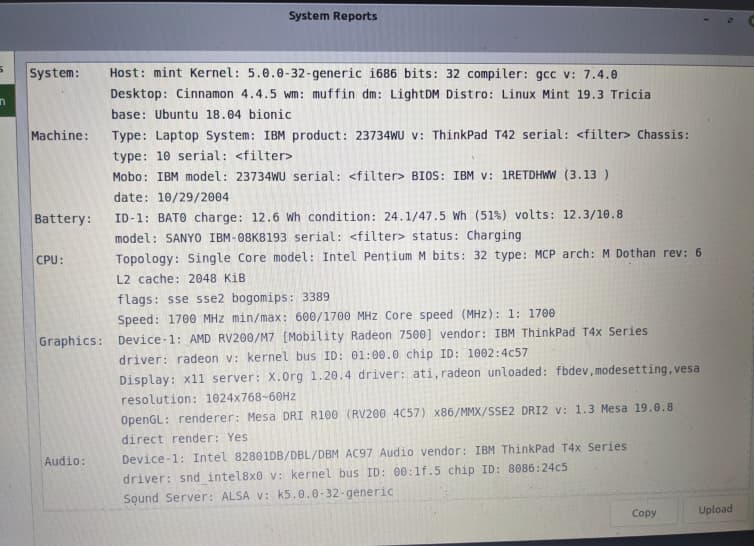
I forgot how long it took to boot up back in 2006 …
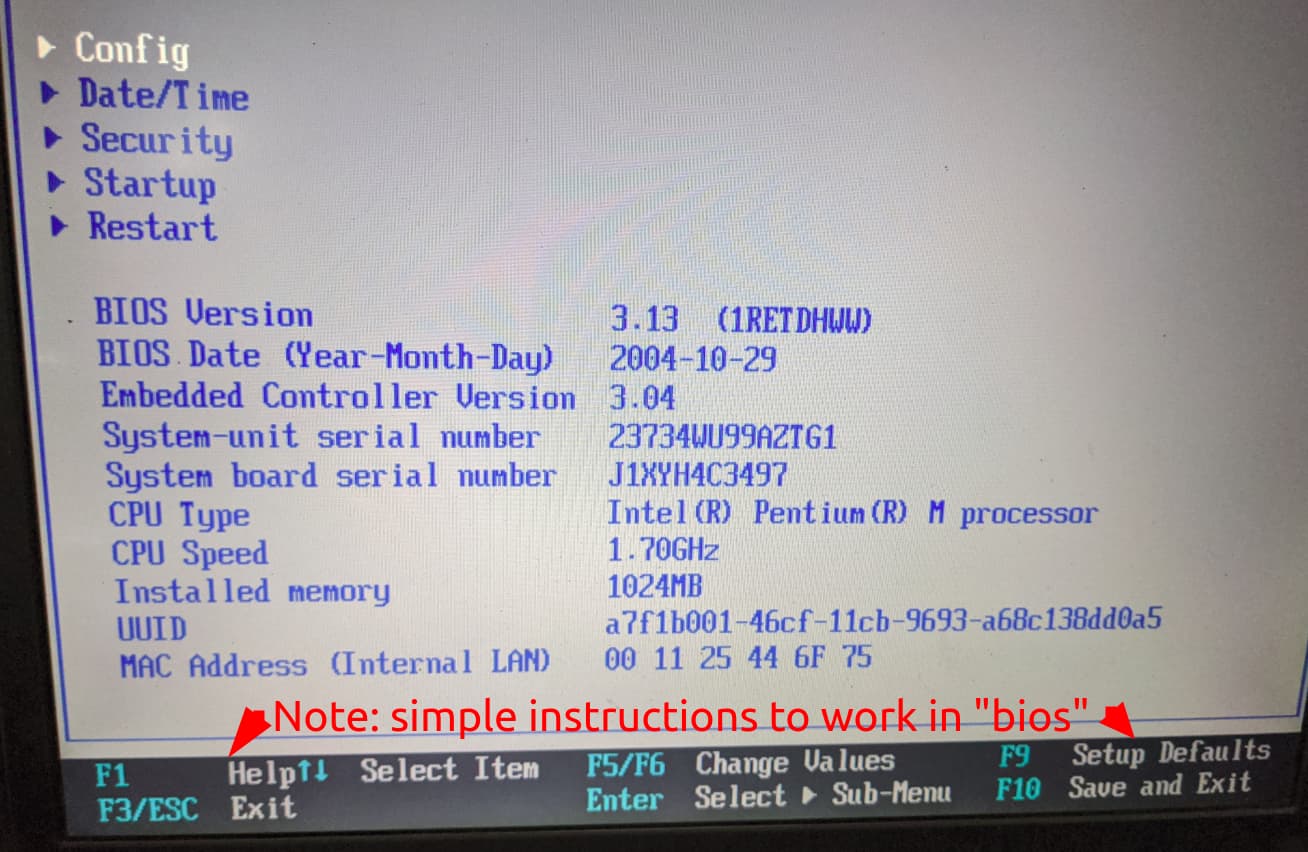
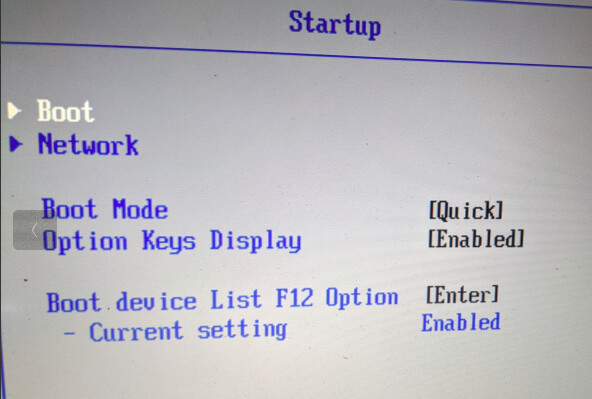
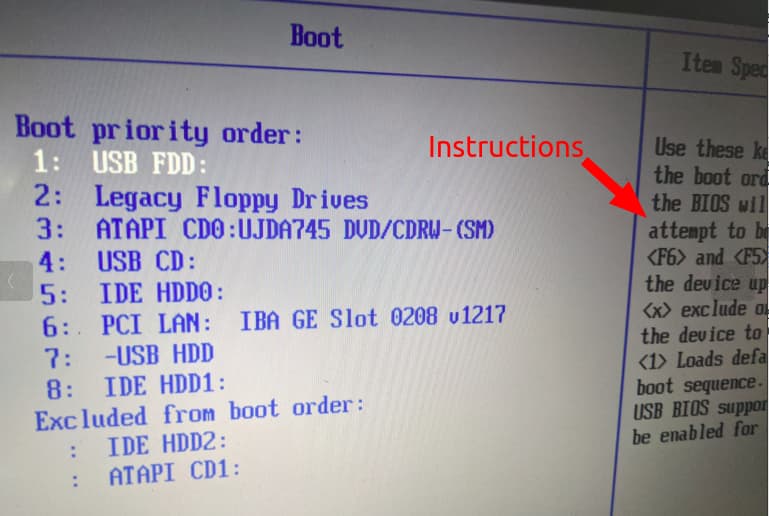
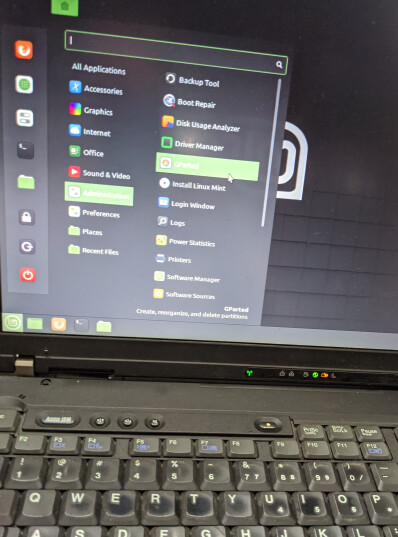
that looked ok so went to boot and moved the USB to the top of the list as I had pulled the hard-drive … note: instructions to move boot order on the right of screen…
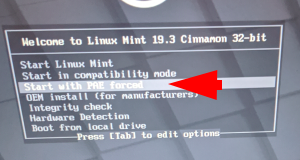
ok … so I pressed the start … and it came back with an “Need kernel with PAE " …and I had no clue … then …as you can see in the photo above … third down… says start with PAE forced” … being a true fan of the old advice “never force it … just get a bigger hammer” … I tried it that way …
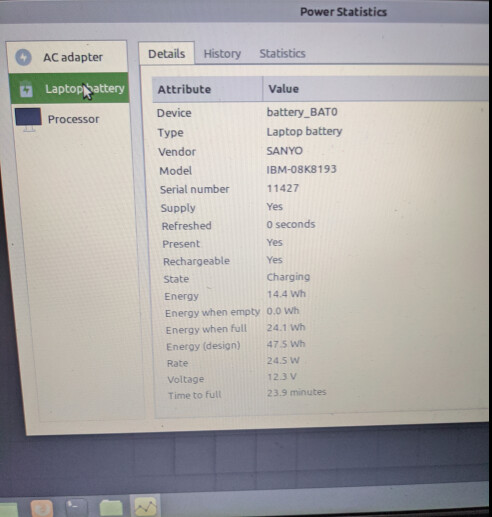
Hmmmmm … it even looks like the battery might take a charge …
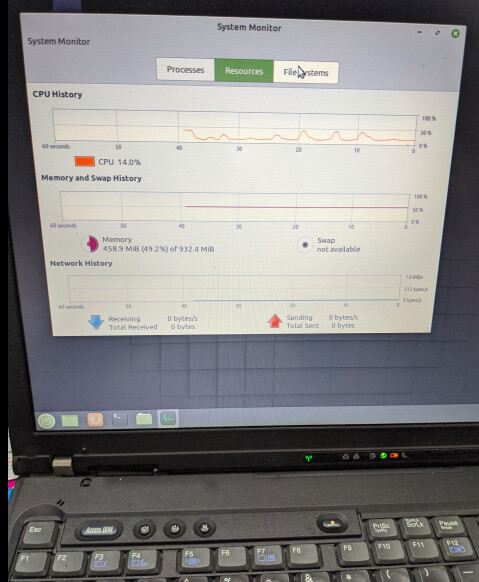
Welp … three cups of coffee and one trip to the latrine … and about an hour … but I think I’ll check Distro Watch and maybe find a lighter distro more suited to just one Gb of Ram … or just do a fast Brave search …
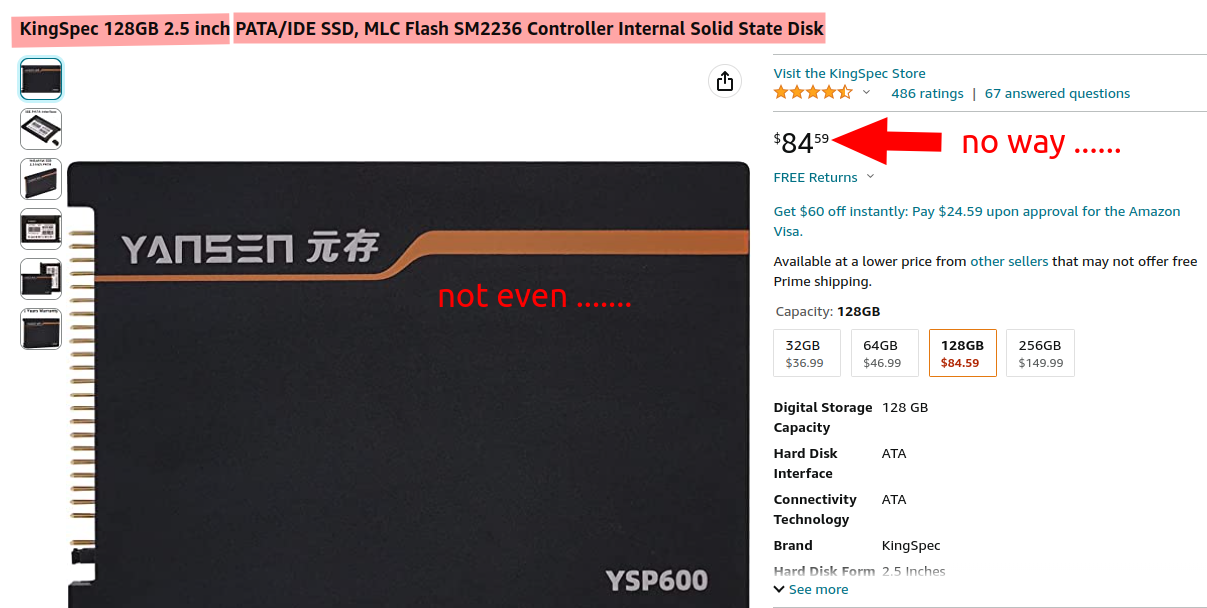
Update … at first I was going to upgrade to a new SSD … and ran in the first roadblock … It was IDE connection for the old hard drive and most SSD’s are SATA … looked around and did find this … and then decided a “Hard No” …
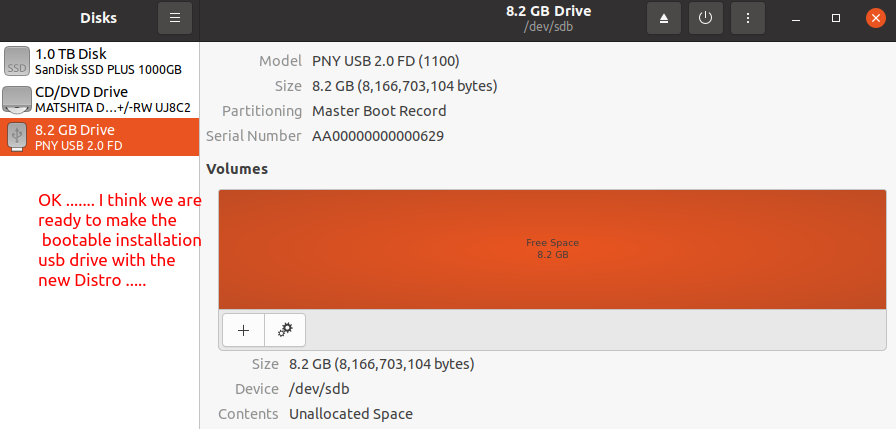
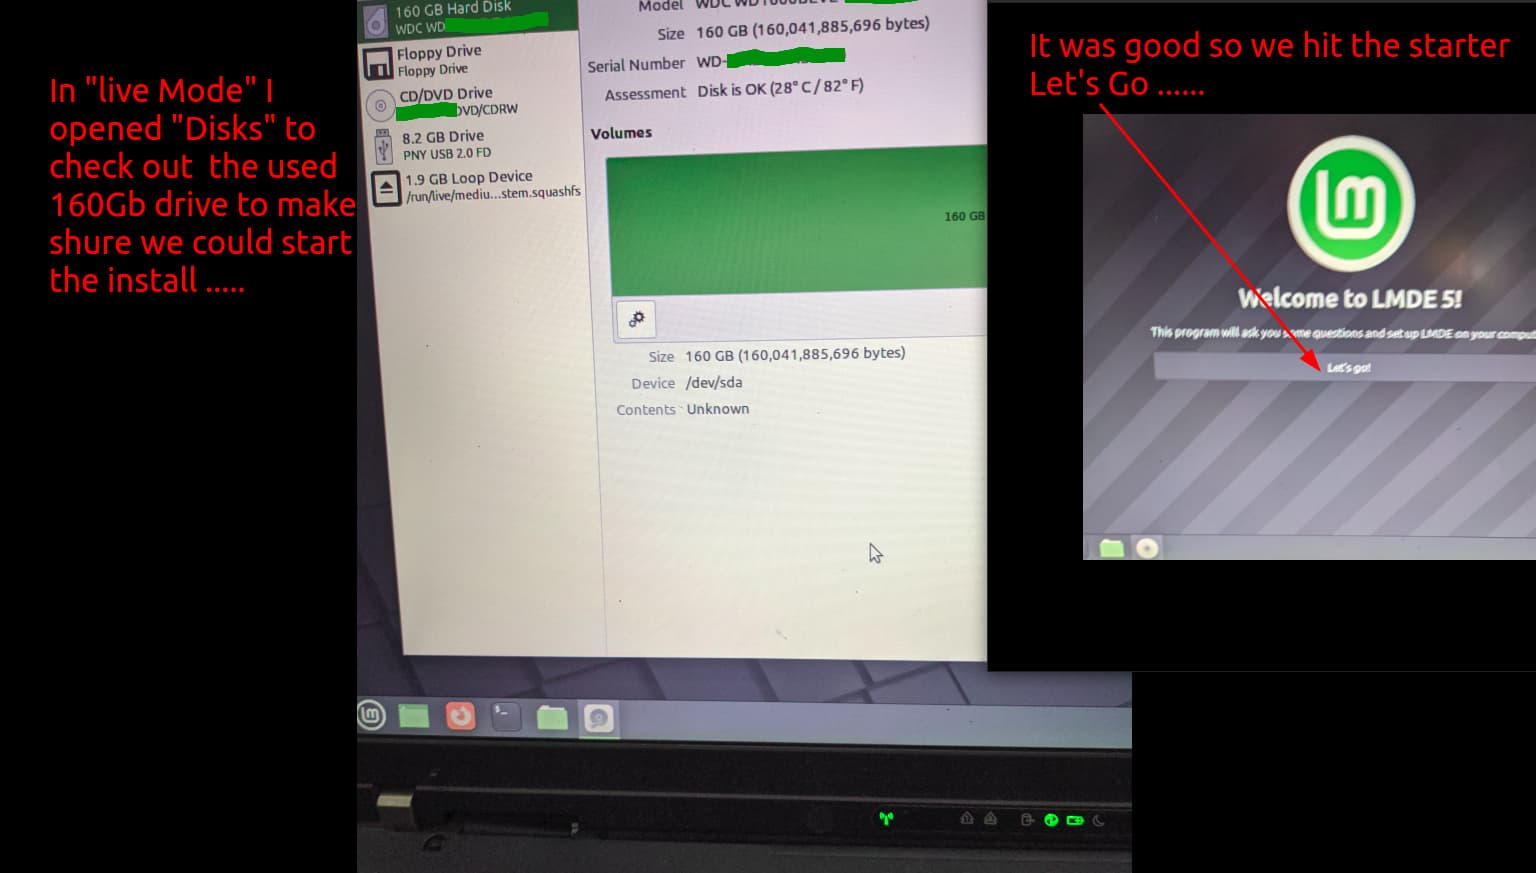
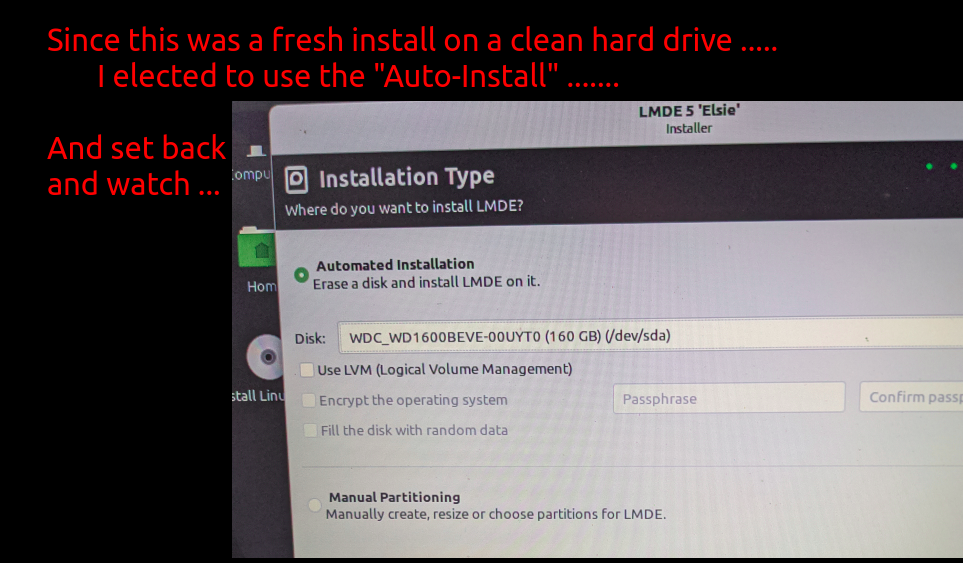
made the decision to reformat the old drive and keep my investment down to “Muh Time” only …
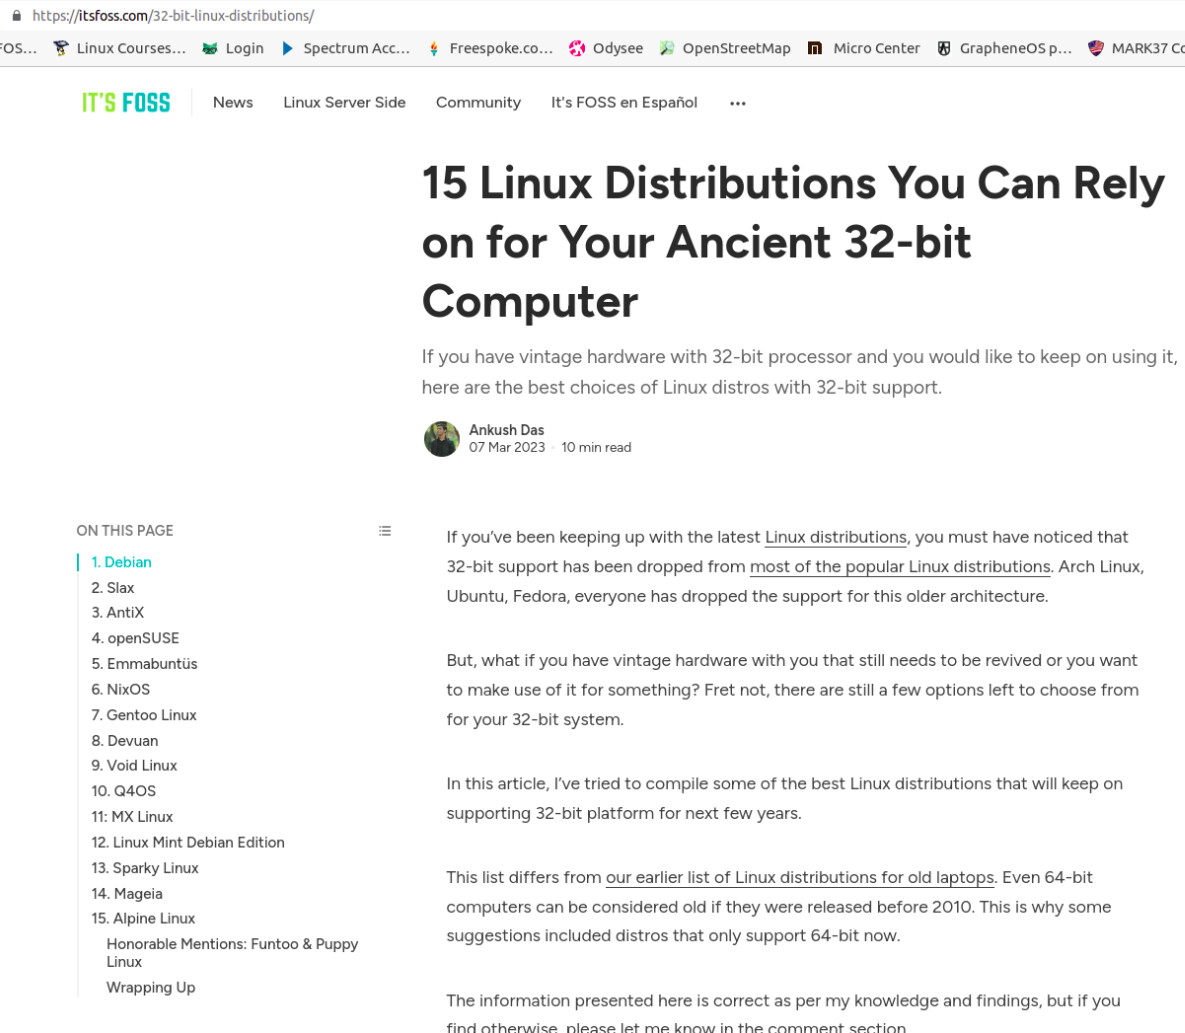
I did decide the target Distro to install after going over the info in the “15 Linux …” article above …
In continuing I’m going to remind everyone that newer 64-bit computers are loaded with Linux Distro’s in the same manner … I’m just going to lay out a step by step process to help those just getting started …
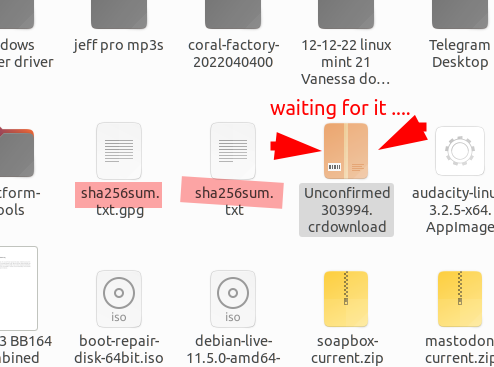
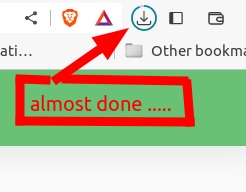
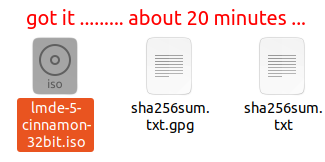
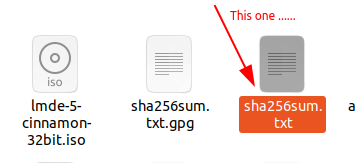
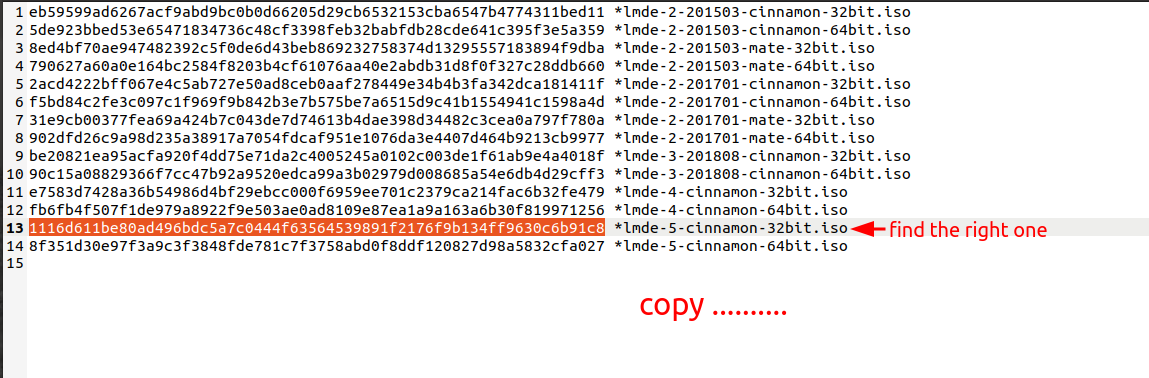
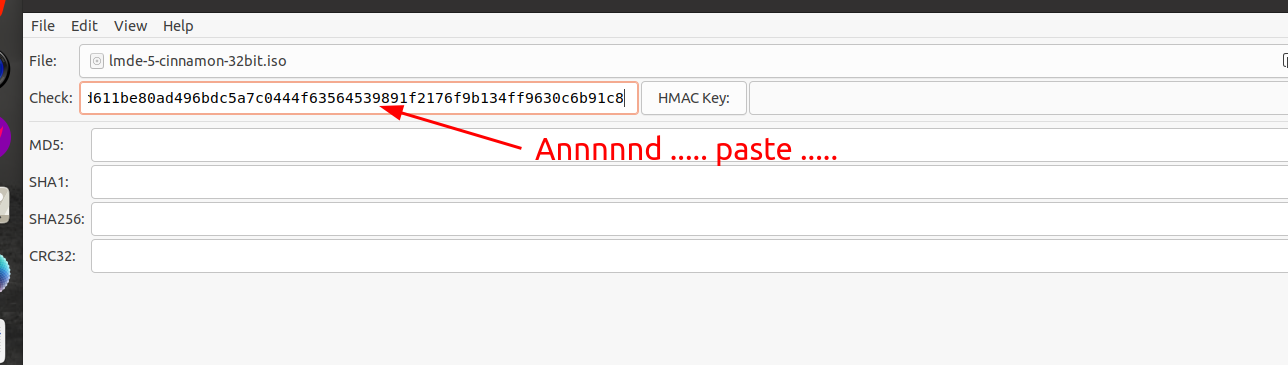
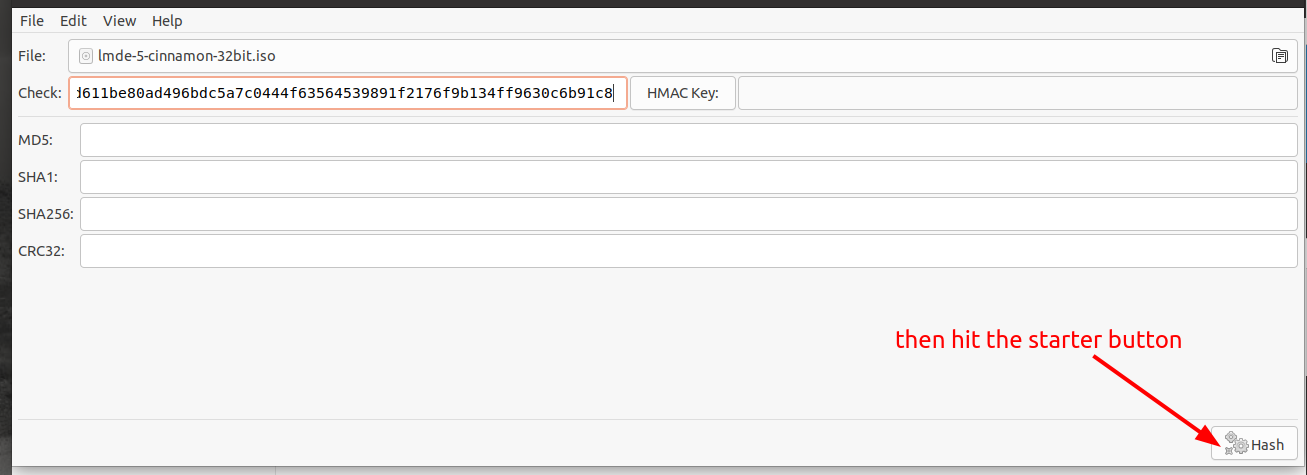
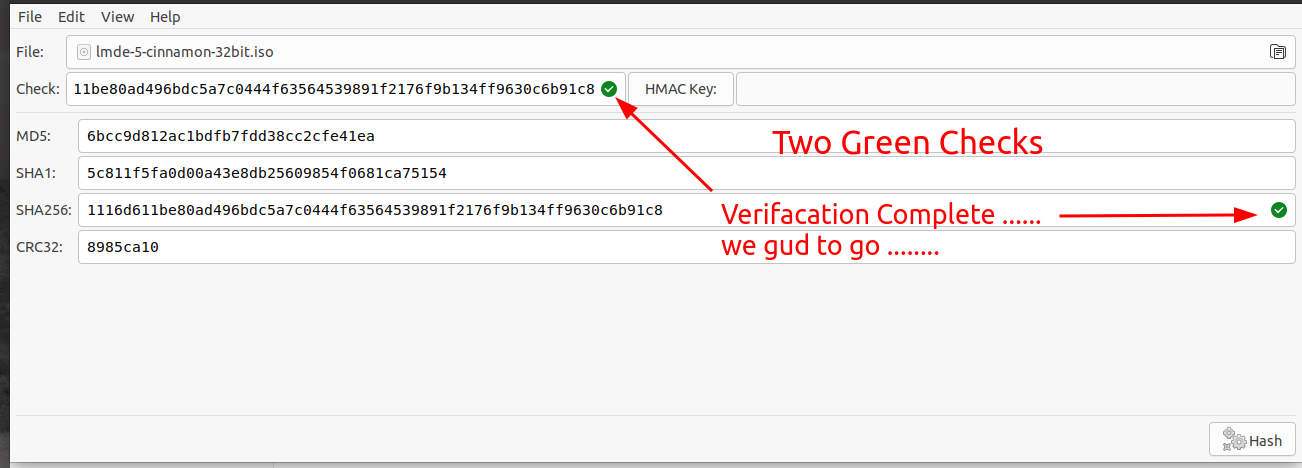
I picked a “Mirror” as close to my location as could guess … and hit the button on the ISO then right-clicked for both “sha256sum.” txt and txt.gps also for the verify part later then set back and waited as the download played out …
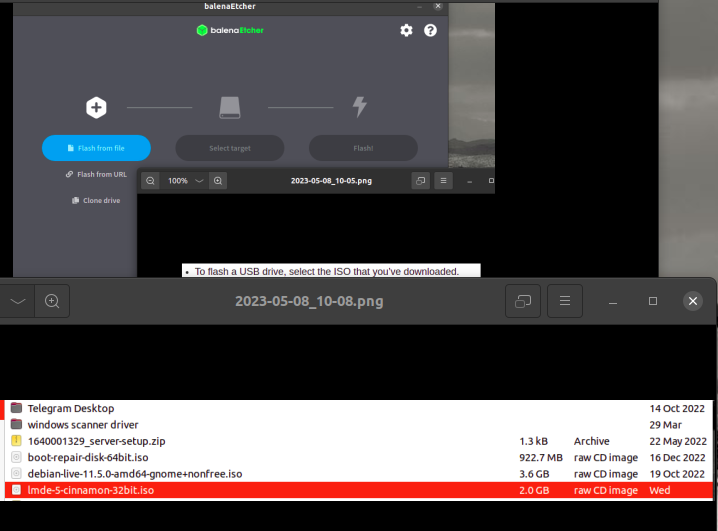
will return later and run through the “make the boot-able flash usb drive” steps …
Note: this will be using Linux to make it … as for me, after switching to Linux and wanting to Disto-Hop … it took a little study to find out how …
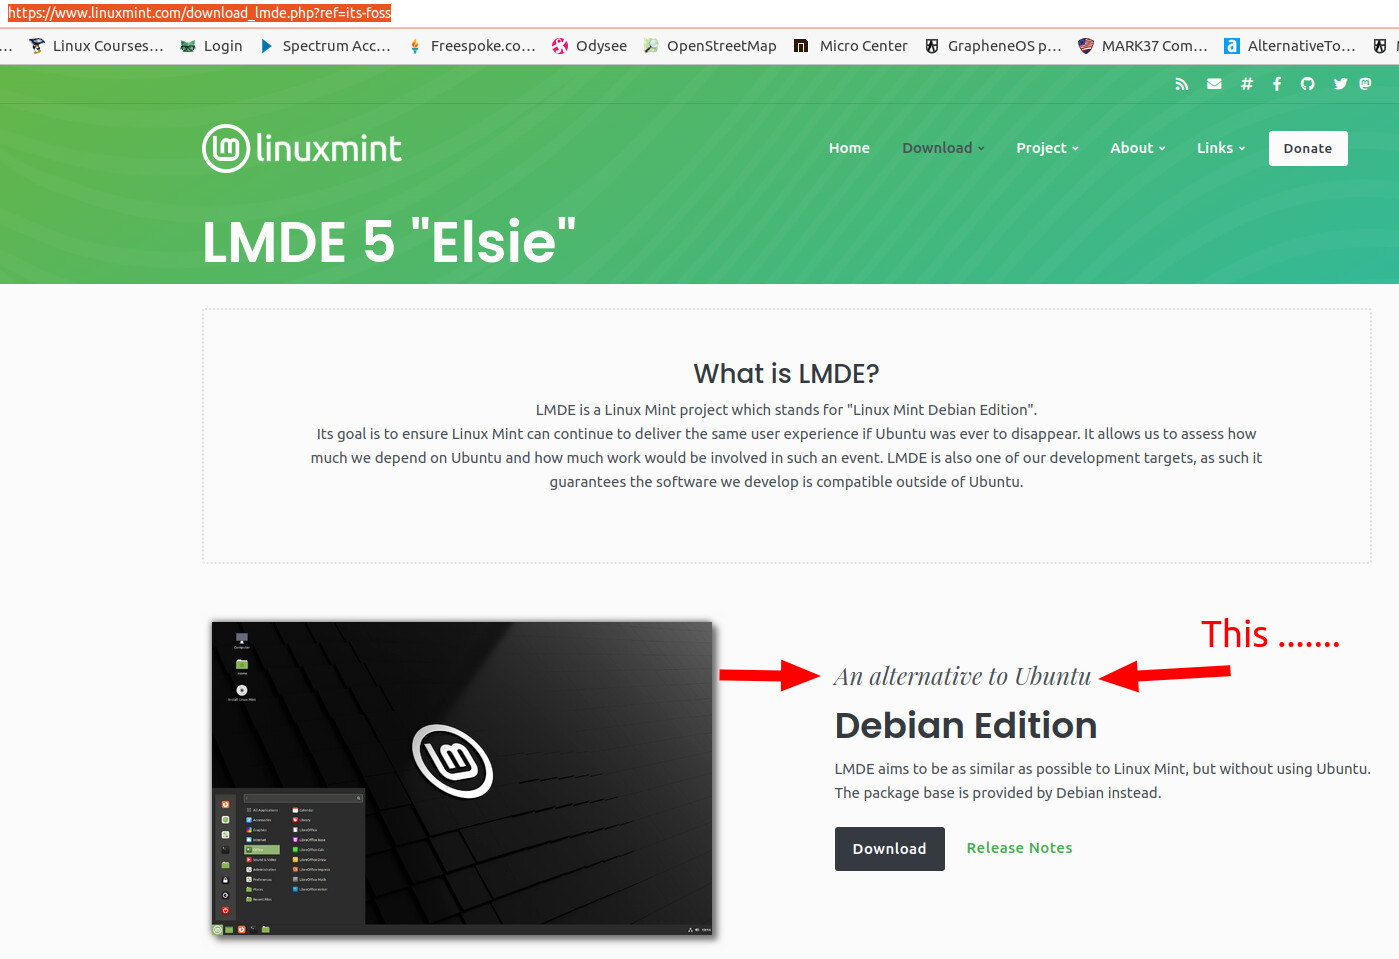
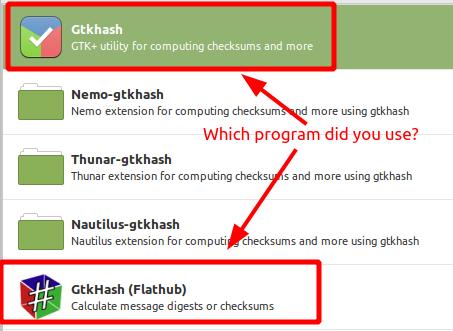
It would be the Flathub… AKA Flatpak for most software I’ve been leaning towards Flatpak’s and AppImages … which is why I’m interested in trying the “Mint based on Debian” iso that I’m writing this up on … Ubuntu/Snap is what I’ve been trying to get away from … the below is a copy-pasta from guick search …
Flatpak integrates seamlessly with Fedora, Linux Mint, or Debian . AppImages work great on Arch Linux, CentOS, Debian, OpenSUSE, Red Hat Linux, and Fedora.
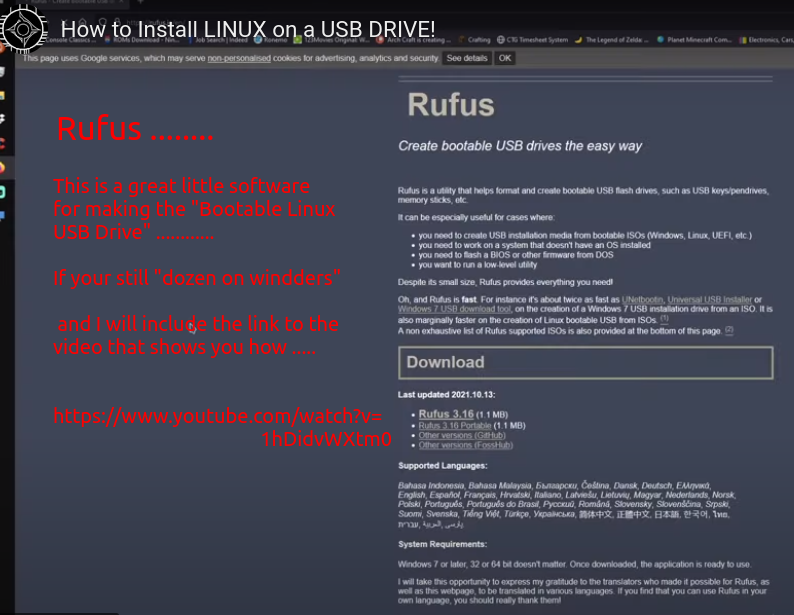
Ok … as I said before… this is being done from my Ubuntu 2.04 running, 2008 Dell that I use for all things internet posting and such … and to help those who are still tied to “doze windders” look to Rufus
My focus is using Linux that is already up and running to make new Installation Usb drives to go “Distro Hopping” cause this is part of the learning journey …
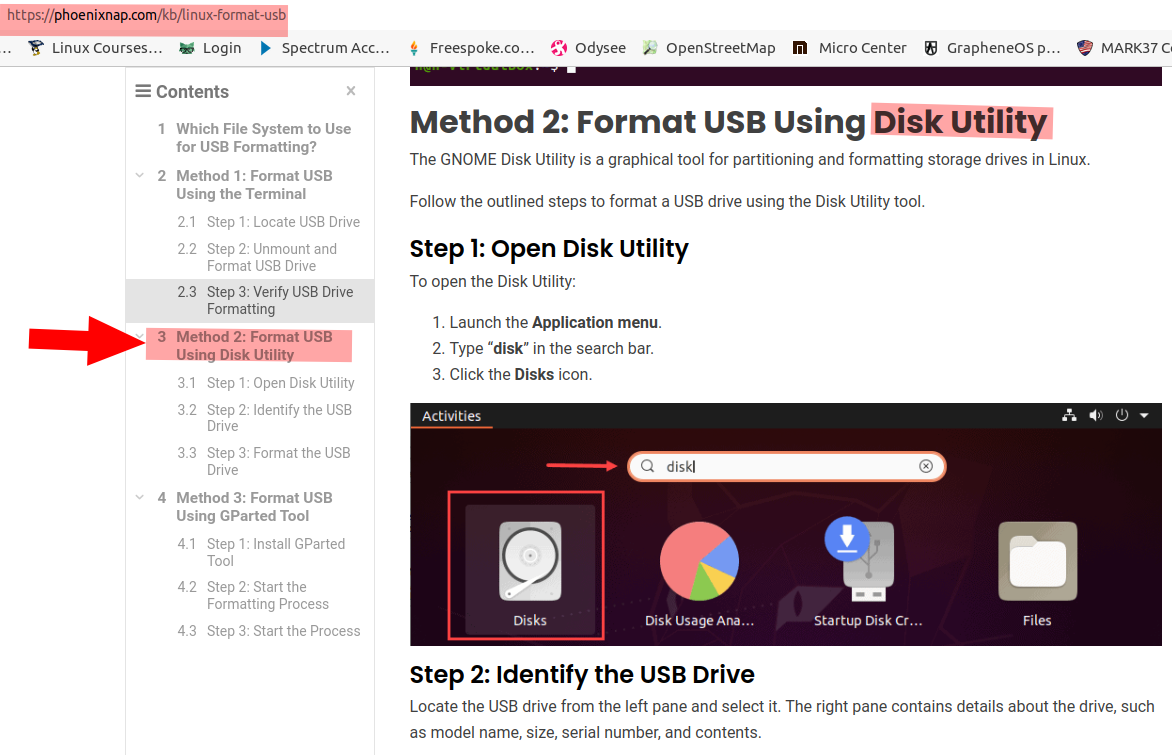
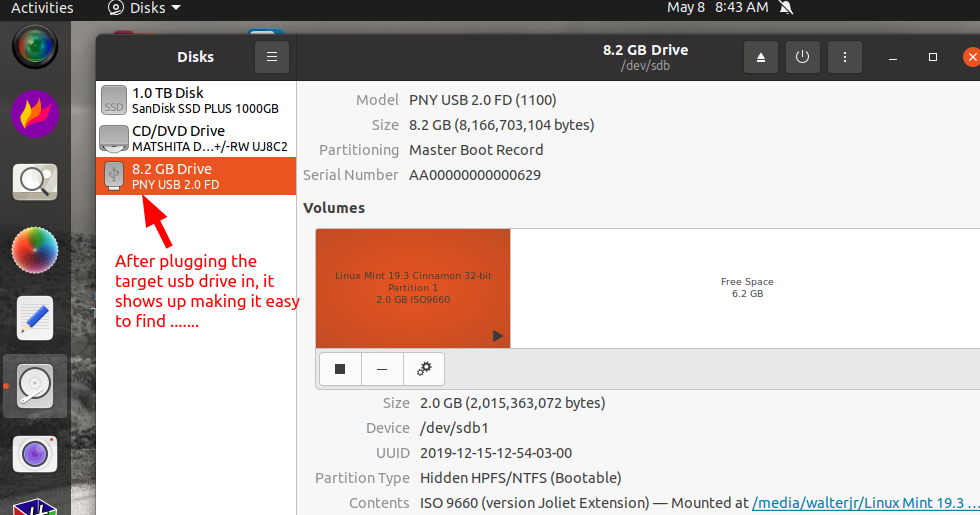
But … there is a side note … and one of the first walls that I ran into … Ya just seen a cool new distro that you want to try … and when you check … you don’t have any empty Usb’s …but you have several that have older distros that are outdated … Reformatting is the answer.
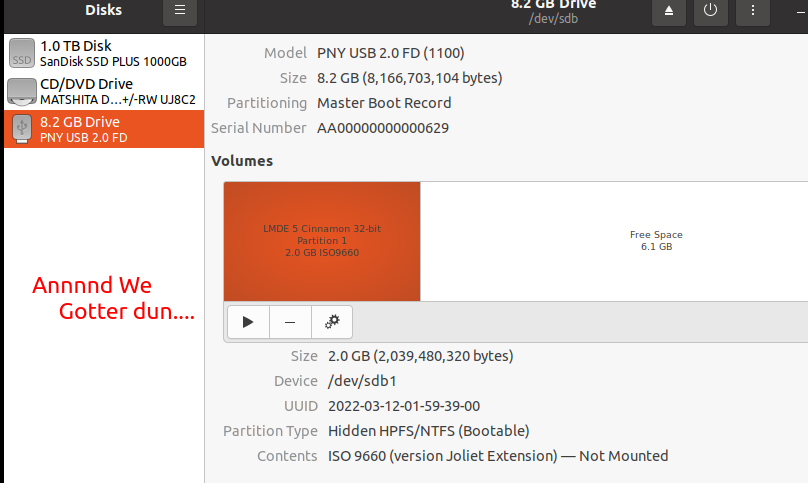
I have used all three methods to reformat and reuse USB drives, but decided on “Disks” because it is usually found pre-loaded on most Debian/Ubuntu/Mint Distros….. in fact on this “ol’Ubuntu 20.04” laptop it was on the “Favorites side bar” from installation ….
Just installed Debian 11 32 bit on an old Gateway Laptop I bought for $20. It took forever and I’m missing some firmware apparently, but it’s working pretty good so far.
this is the first true 32bit that I have done … I at first downloaded the Linux Mint 32bit cause I thought my Wife’s old Acer required it … when I tried it in “live mode” to test everything was very slow and spotty… rebooted it with 64bit and it ran like a charm … funny thing is that the Acer manual that came with it said 32bit … Installed it and My wife has been using it since 2020 with no problems … I will continue with the install and set up with Important “first things to do” after install and trouble shooting if problems are encountered … how ever we are dealing with our own Invasion this week end… of the out of state family type … and this is effecting my free time
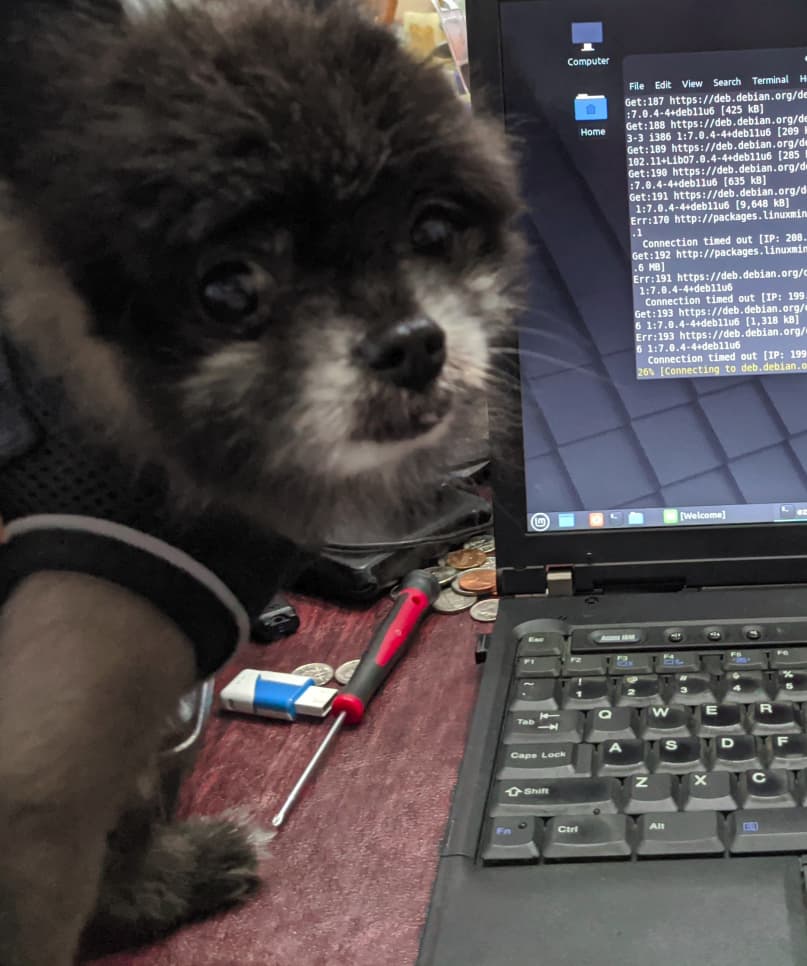
I went with the Debian 11 32 bit because its supposed to be supported until at least July 2024. It was also pretty easy to find and install the missing firmware, it was for the wifi driver. Just had to edit my repository config to add non-free and installed the missing firmware. Its a little on the slow side compared to my other computers, but it works. If you have too many issues with the Mint install, try the Debian, when you have time of course.
quick note … the LMDE 5 is based on Debian in stead of Ubuntu …(also based on Debian) but without the Ubuntu stuff … which is why it peaked my interest … I run Debian 11 gnome 64 on the newest Dell in my stable that I use for photo/video work and VM’s… and very happy with it … ok back to the chores …
After putting it back together I tried to start it from the installation usb drive and even though it was set to boot from the USB first I hit the first roadblock … As I suspected it was not going to happen …
So I pulled the hard drive back out and went down the road to a little Mom n Pop computer shop …
PS I fired up the drill press in the shop as I went to the car …
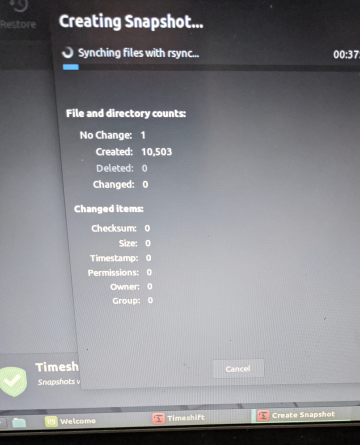
every thing seemed to go well ….. and when it finished ….
as instructed ….. I shut it down completely ….. then removed
the USB Installation Drive before I rebooted ……
everything seemed to work fine …..
so before I connected to the internet for up-dates
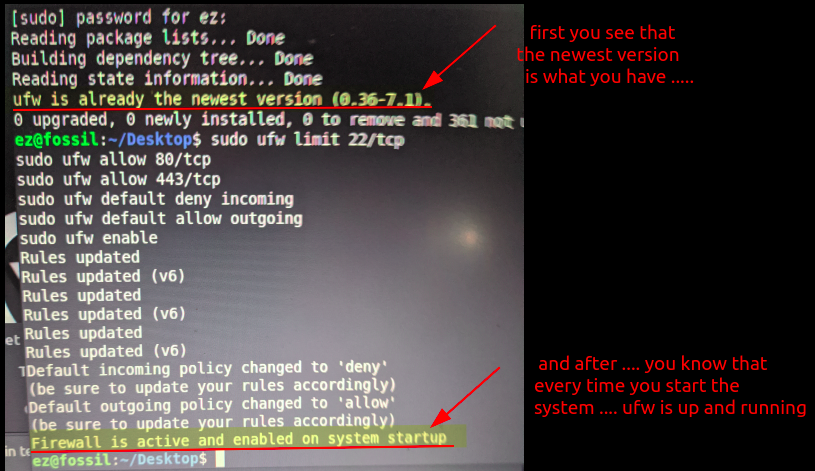
I make sure that the Firewall is set up ….. As with all “Mint Distro’s”
LMDE 5 has “Ufw” (Universal Fire Wall) installed, but it is not turned on ……
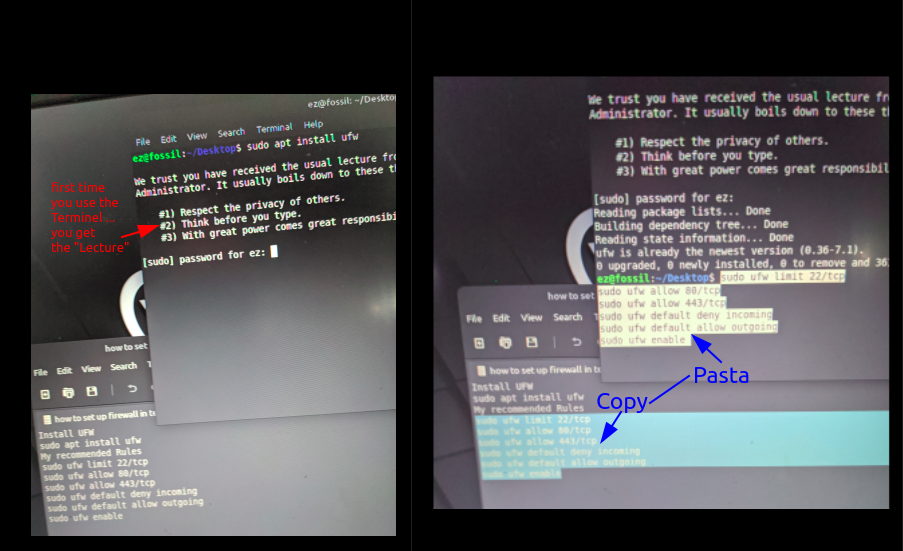
I like to use the Terminal to do this and keep a “Text File Cheat-Sheet” on a small USB
for quick “copy-pasta” work ….. note: pasta = paste it’s a grammer/spelling joke
note: I got this tip from watching Chris Titus Tech videos https://www.youtube.com/watch?v=QxNsyrftJ8I