This is for everyone who has been patient enough for the upcoming course of the LMS.
I went round and around to prepare a way for the full NextCloud Hub that will act as a dedicated, personal cloud server. The reason was that I did not want to go via the “easy” method, which would be otherwise limiting. Most of the ready-made solutions just offer the basics, without much option for expansion.
What I wanted to do was to do a - by default - a root installation using the official repositories that would make the update and expansion process a breeze.
I ended up cycling and installing between the following distributions:
- Debian 11
- CentOS Stream 9
- OpenSUSE Leap 15
After going around, I reverted to the Debian, which was a full success. The reason I gave it up the first time was its inability to offer collaborative office work. This I resolved in the last run.
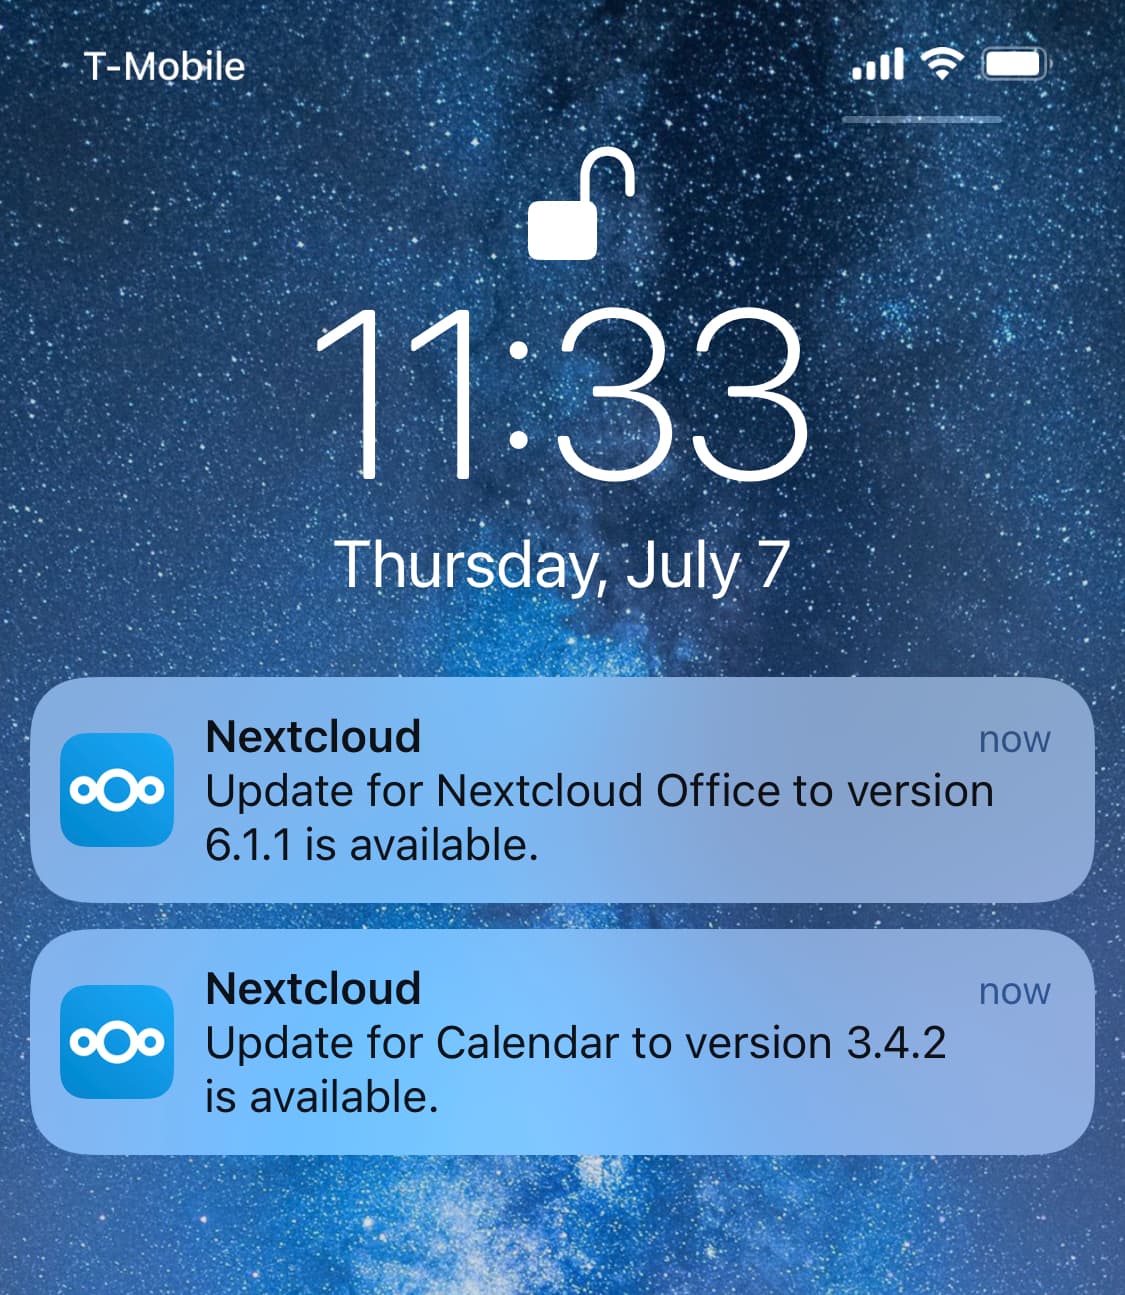
What it now needs is to prepare the edit and the comprehensive titling so that you don’t get lost in there. The setup is a challenge for any beginner, but once it’s done, the updates will be a breeze.
So, what you will get from the upcoming LMS Course are:
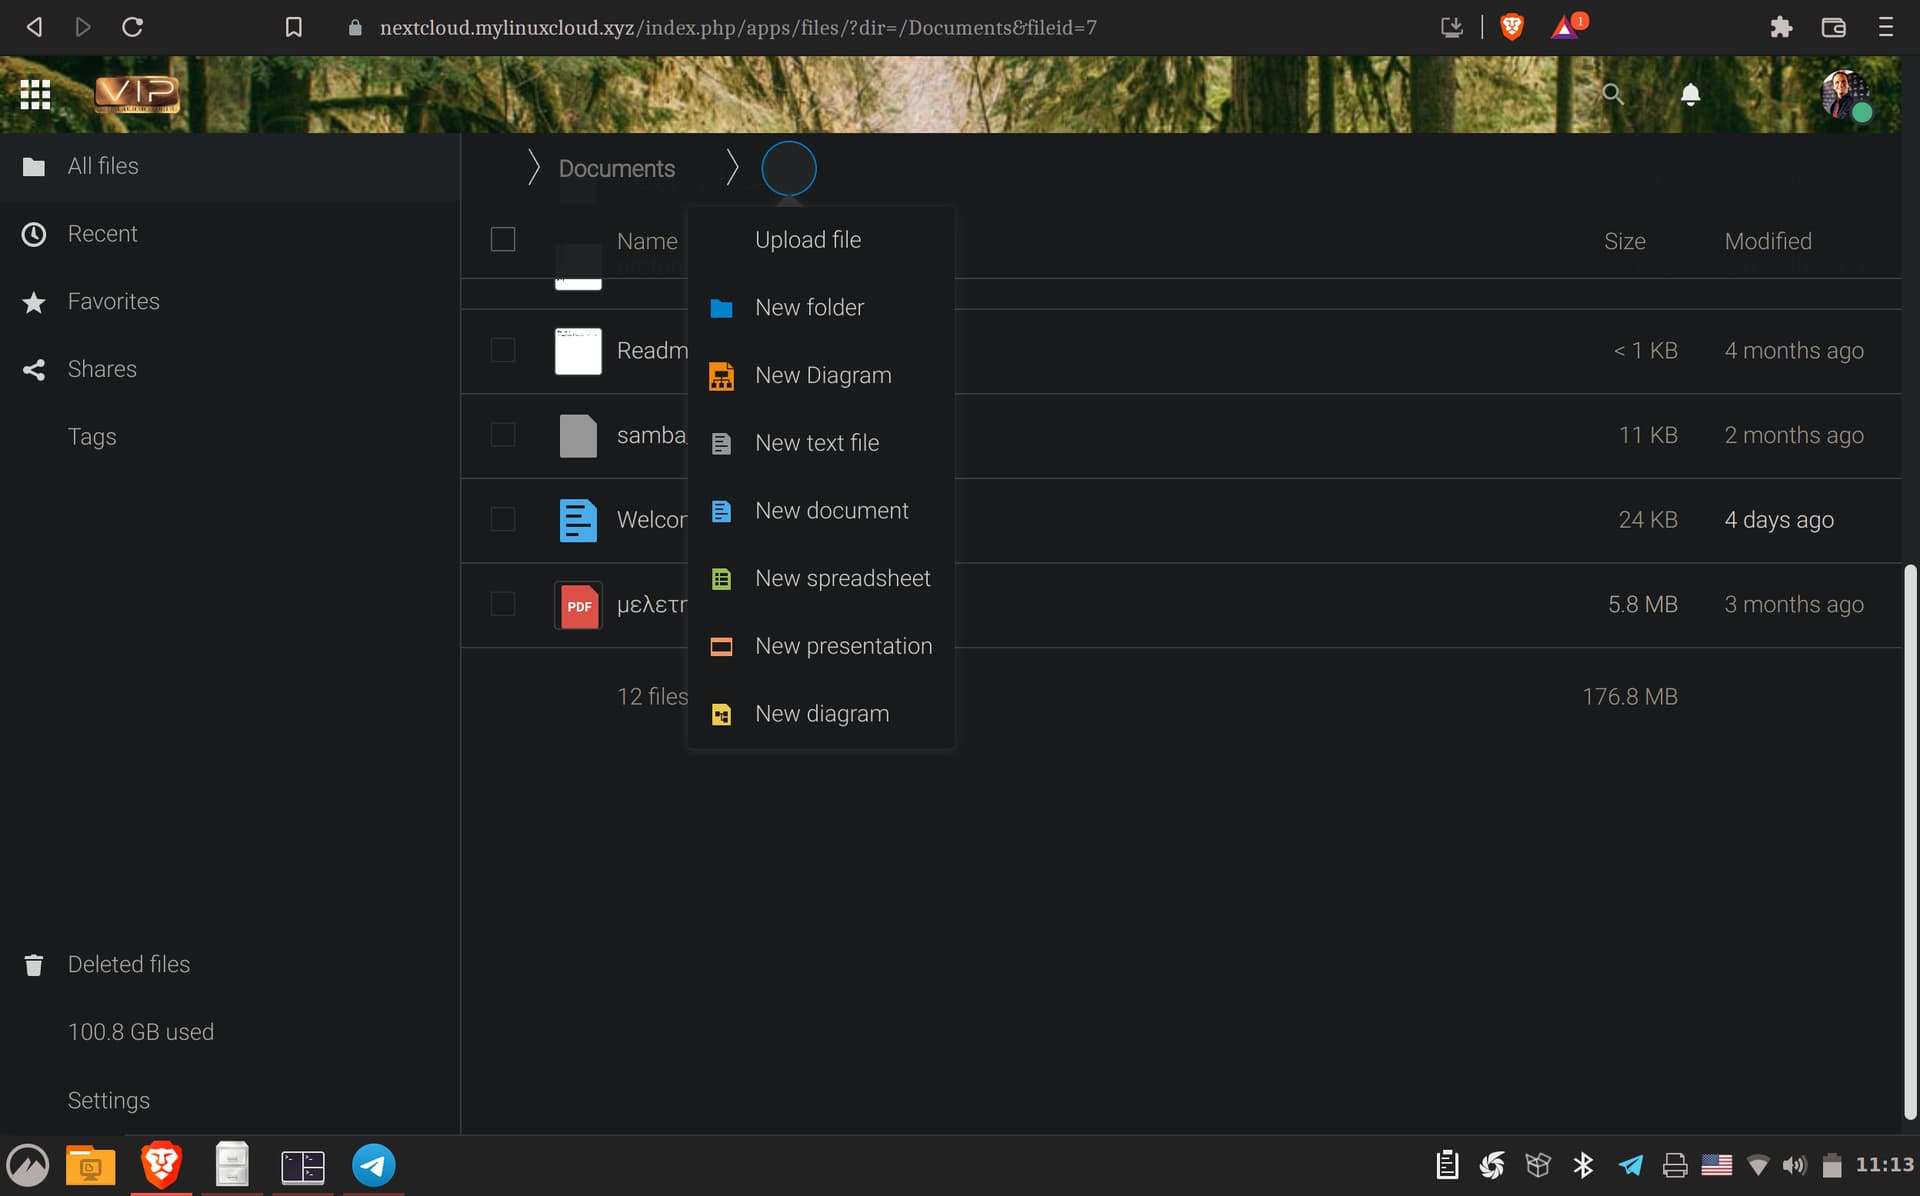
- The full implementation of the NextCloud Hub
- The Hub will sit on your Domain Name, which means you can have it accessible from everywhere
- Full SSL implementation for secure communications
- Two Factor Authentication for extra security on the online world
- Collaborative process of documents with multiple users
- The full MariaDB Database, which is production-ready for multi-users and multi-devices (the “easy” solutions come with a simple database setup which is not recommended for many users)
- Social Networking with chat, comments, and video calls from within the Hub
- Access to the numerous applications from within the Hub, including project management, reminders, etc.
- The ability to incorporate existing email accounts directly into the Hub itself.
Naturally, the NextCloud Hub is gigantic, so I couldn’t go through all the details and options it offers. You can still experiment with the settings and the apps yourself. However, once you have it setup, I highly recommend you install TimeShift and create a snapshot the instant that your NextCloud works.
Additionally, I include instructions on how to prepare your home router to direct incoming traffic to your server via port forwarding. No SSH will be available outside your home, unless you decide to open up an extra port. A firewall will be redundant, but I’m including it nonetheless. When you use it to shut down the ports, it shuts your NextCloud to the outside world.
This entire setup is not for a VPS, though it can also be applied to it. This is a full home or work environment setup for your business.