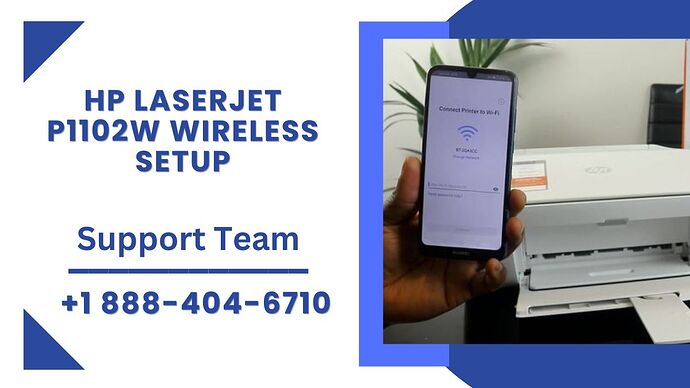
The HP LaserJet P1102W is a compact, efficient monochrome laser printer known for its wireless capabilities, which allow users to print from anywhere within their Wi-Fi network. Setting up this printer wirelessly can seem daunting, but with this step-by-step guide, you’ll be able to connect your HP LaserJet P1102W to your wireless network with ease.
Prerequisites
Before you begin the setup process, ensure you have the following:
- A functioning Wi-Fi network.
- Your Wi-Fi network name (SSID) and password.
- A computer or mobile device connected to the same Wi-Fi network.
- The HP LaserJet P1102W printer, powered on and with paper loaded.
Step-by-Step Wireless Setup Guide
1. Prepare Your Printer
Unbox and Power On
- Unbox your HP LaserJet P1102W printer and remove all packing materials.
- Connect the power cord to the printer and an electrical outlet.
- Press the power button to turn on the printer.
Install the Toner Cartridge and Load Paper
- Open the printer’s top cover and insert the toner cartridge.
- Close the cover and load paper into the input tray.
2. Reset Network Settings (if necessary)
If your printer was previously connected to a different network, you may need to reset its network settings:
- Turn the printer off.
- Hold down the Wireless button and the Cancel button simultaneously.
- While holding both buttons, turn the printer back on.
- Release the buttons when the printer starts, and the network settings will be reset.
3. Connect Using the HP Smart Install (Windows Users)
Download and Install HP Smart Install Software
- Ensure your computer is connected to the same Wi-Fi network you want the printer to connect to.
- Download the HP Smart Install software from the HP Support website.
- Run the downloaded file to start the installation process.
Set Up Wireless Connection
- During the installation, select “Convert a USB connected printer to wireless” when prompted.
- Connect the printer to your computer using a USB cable.
- Follow the on-screen instructions to enter your Wi-Fi network credentials.
- Once the wireless setup is complete, disconnect the USB cable.
4. Connect Using WPS (Wi-Fi Protected Setup)
If your router supports WPS, you can use this method to quickly connect your printer to the Wi-Fi network.
Using WPS Button
- Press the WPS button on your router.
- Within two minutes, press and hold the Wireless button on the HP LaserJet P1102W for at least three seconds.
- The wireless light on the printer will start blinking, indicating that it is trying to connect to the network.
- Once the printer is connected, the wireless light will turn solid.
5. Connect Using HP Smart App (Mac and Mobile Devices)
Download and Install HP Smart App
- Download the HP Smart app from the App Store (iOS) or Google Play Store (Android), or from the HP Smart for Mac.
- Install and open the app on your device.
Add Your Printer
- Ensure your mobile device or Mac is connected to the same Wi-Fi network you want the printer to connect to.
- Open the HP Smart app and tap on the plus sign (+) to add a new printer.
- The app will search for printers in Wi-Fi setup mode. Select your HP LaserJet P1102W from the list.
- Follow the on-screen instructions to connect the printer to your Wi-Fi network. Enter your Wi-Fi password when prompted.
6. Verify Connection
Once the connection process is complete, it’s important to verify that your HP LaserJet P1102W is connected to your Wi-Fi network.
Print a Configuration Report
- Press and hold the Cancel button until the Ready light starts blinking, then release the button.
- The printer will print a Configuration Report.
- Check the report to ensure that the printer is connected to the correct Wi-Fi network.
7. Troubleshooting Connection Issues
If you encounter issues during the setup process, try the following troubleshooting steps:
Check Wi-Fi Network
- Ensure your Wi-Fi network is functioning correctly.
- Verify that you are using the correct SSID and password.
Restart Devices
- Restart your printer, computer or mobile device, and router.
Move Closer to Router
- Ensure the printer is within range of your Wi-Fi router.
Disable VPN
- If you are using a VPN on your computer or mobile device, disable it temporarily during the setup process.
8. Utilize Advanced Features
Once connected to Wi-Fi, you can make the most of your HP LaserJet P1102W’s features:
Print from Anywhere
With the HP Smart app, you can print documents and photos from virtually anywhere. Ensure you have an active internet connection, and your printer is connected to Wi-Fi.
Mobile Printing
Use services like Apple AirPrint or Google Cloud Print to print directly from your mobile device without the need for additional software.
Firmware Updates
Regularly check for firmware updates via the HP Smart app or HP software to ensure your printer is running the latest features and improvements.
Conclusion
Connecting your HP LaserJet P1102W printer to Wi-Fi allows you to enjoy the convenience of wireless printing from multiple devices. By following this step-by-step guide, you can easily set up your printer and start leveraging its wireless capabilities. Whether you’re using a computer, smartphone, or tablet, a stable Wi-Fi connection makes the printing process seamless and efficient. Happy printing!
